How to Use the AI Course Builder
The Course Builder allows you to create comprehensive, multi-media courses. The true power of this feature is unlocked when you connect your course to a Hosted Page. When you do, the AI agent on that page is automatically trained on all your course content—including text, videos, and audio—to act as a 24/7, personalized AI tutor for each of your students.
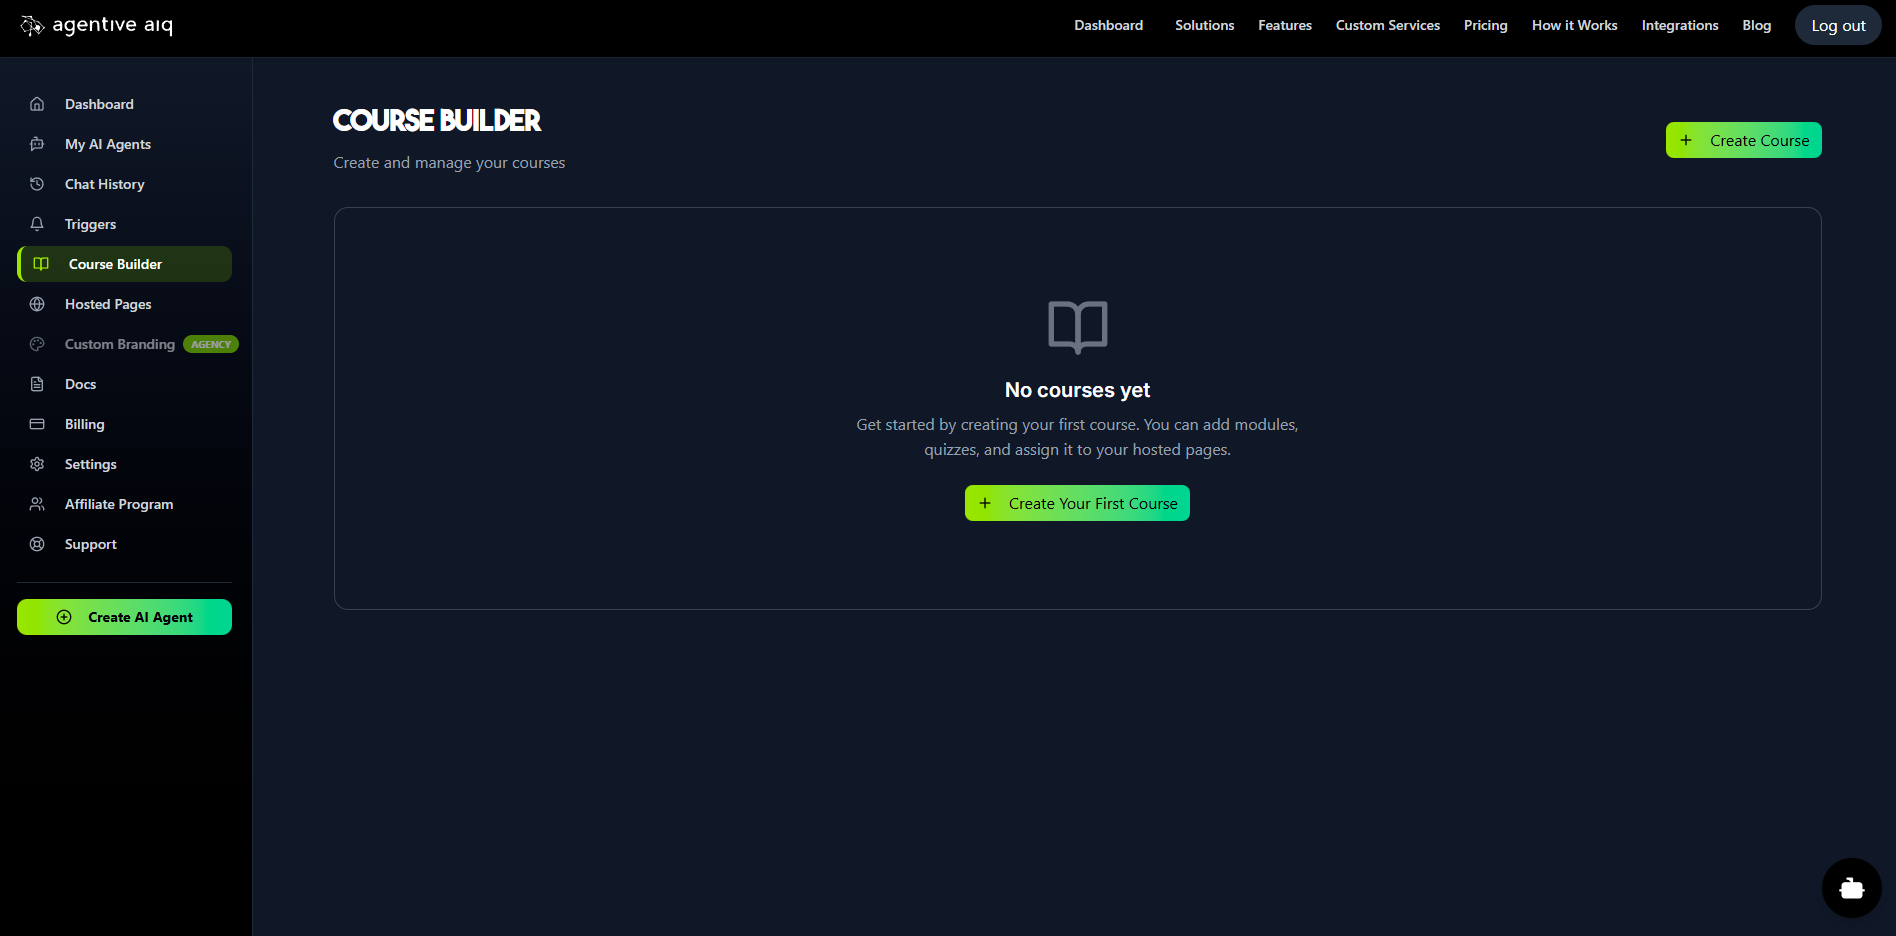
1. Create Your Course Shell
From the main menu, navigate to Course Builder. Click Create Course (or Create Your First Course) and give your course a Title and Description.

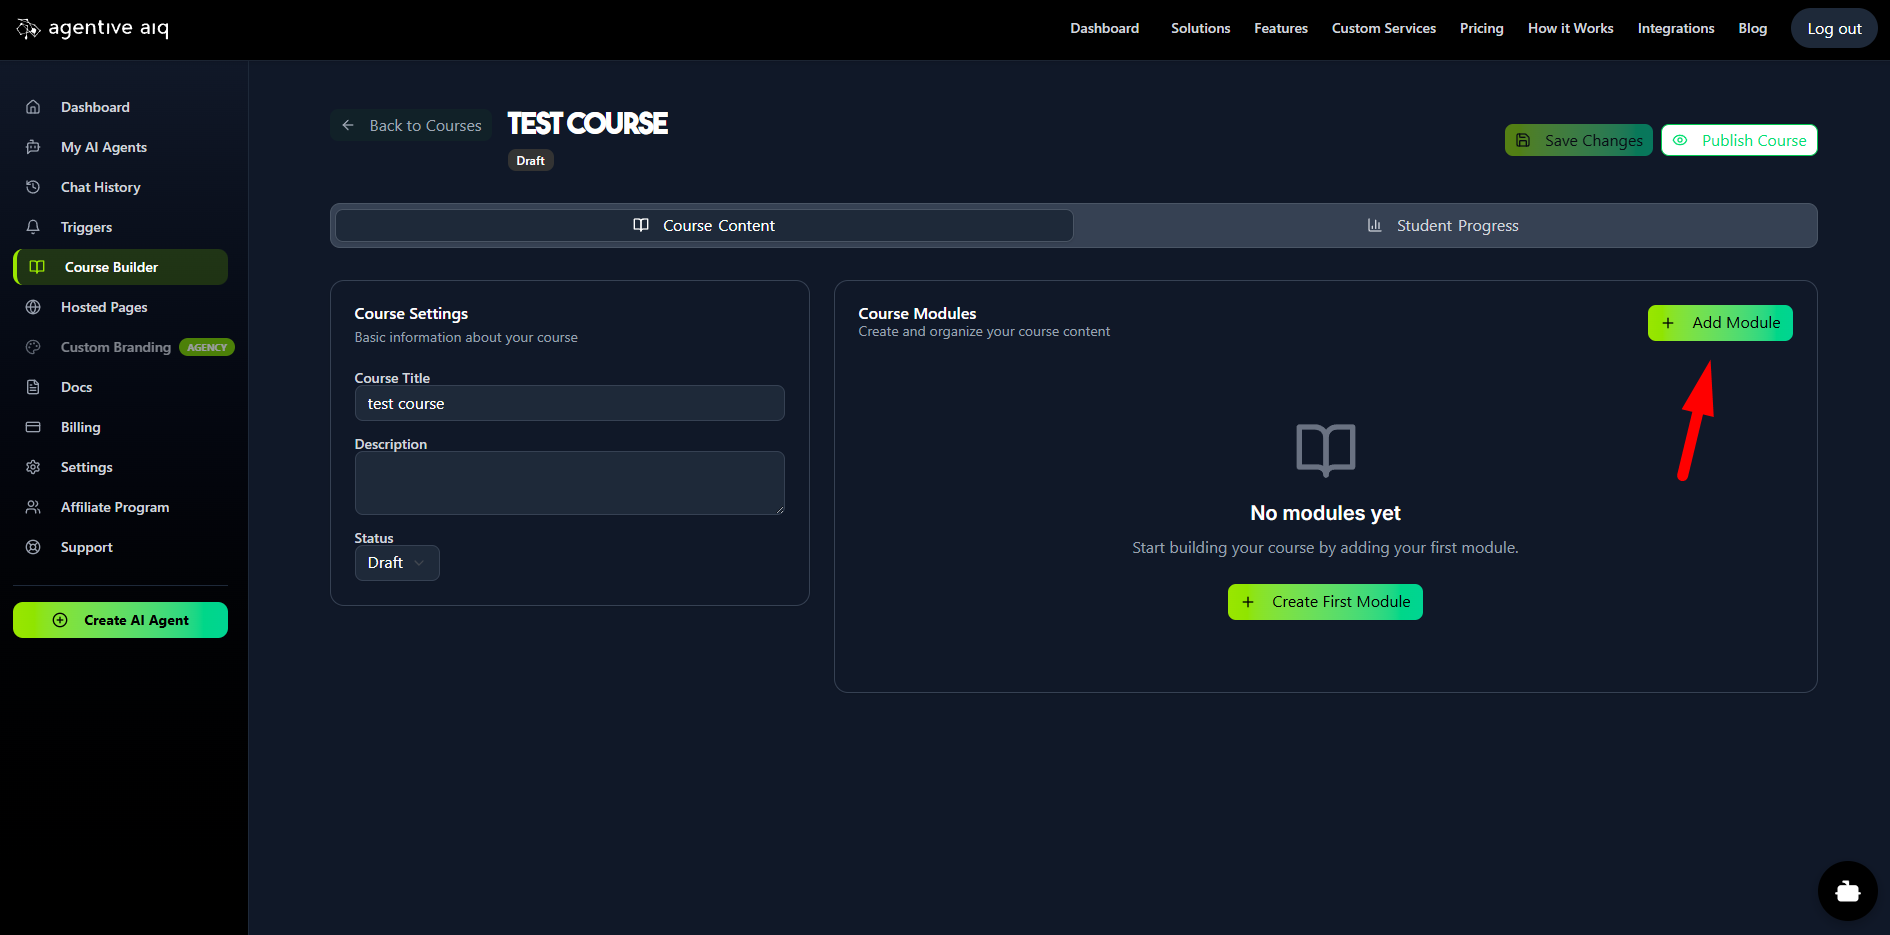
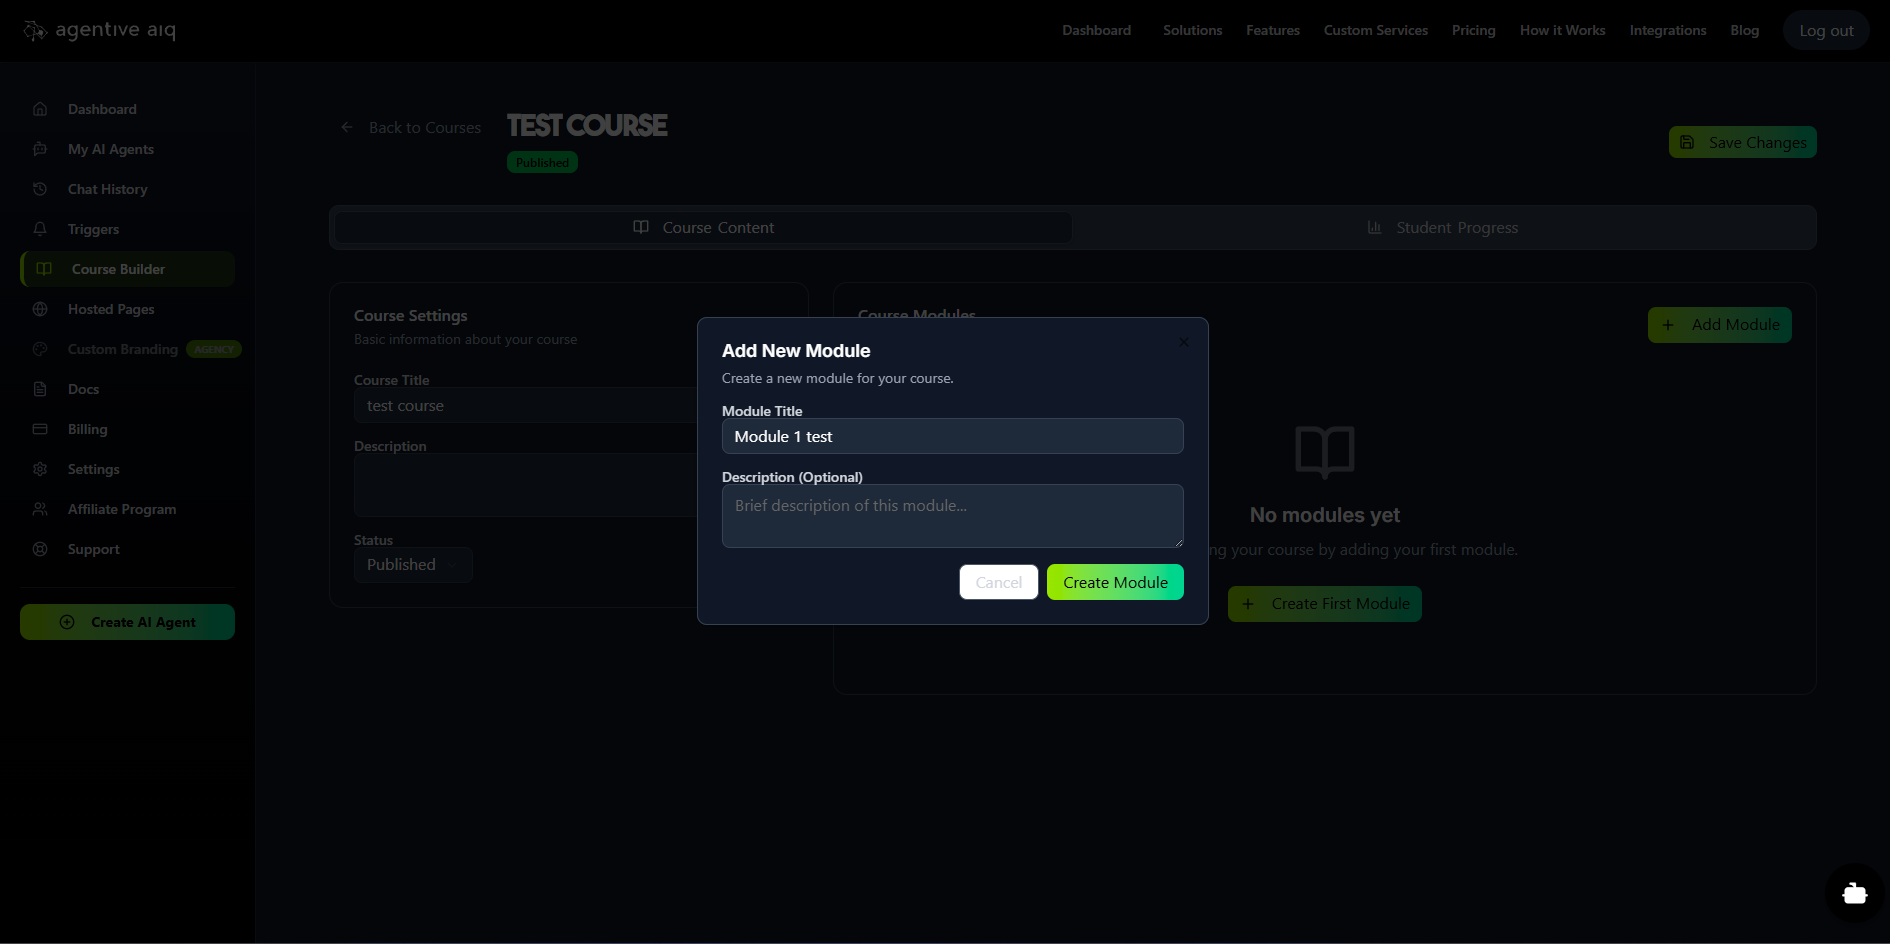
2. Add Your Modules
Inside the course editor, go to the Course Modules section and click Add Module. Give your module a title and description. All your modules will appear in a list here, which you can drag-and-drop to re-order at any time.
3. Edit Module Content
Click on a module to edit its contents. On this page, you can:
Add Module Content: Use the rich-text editor to write your lessons, add instructions, and embed links.
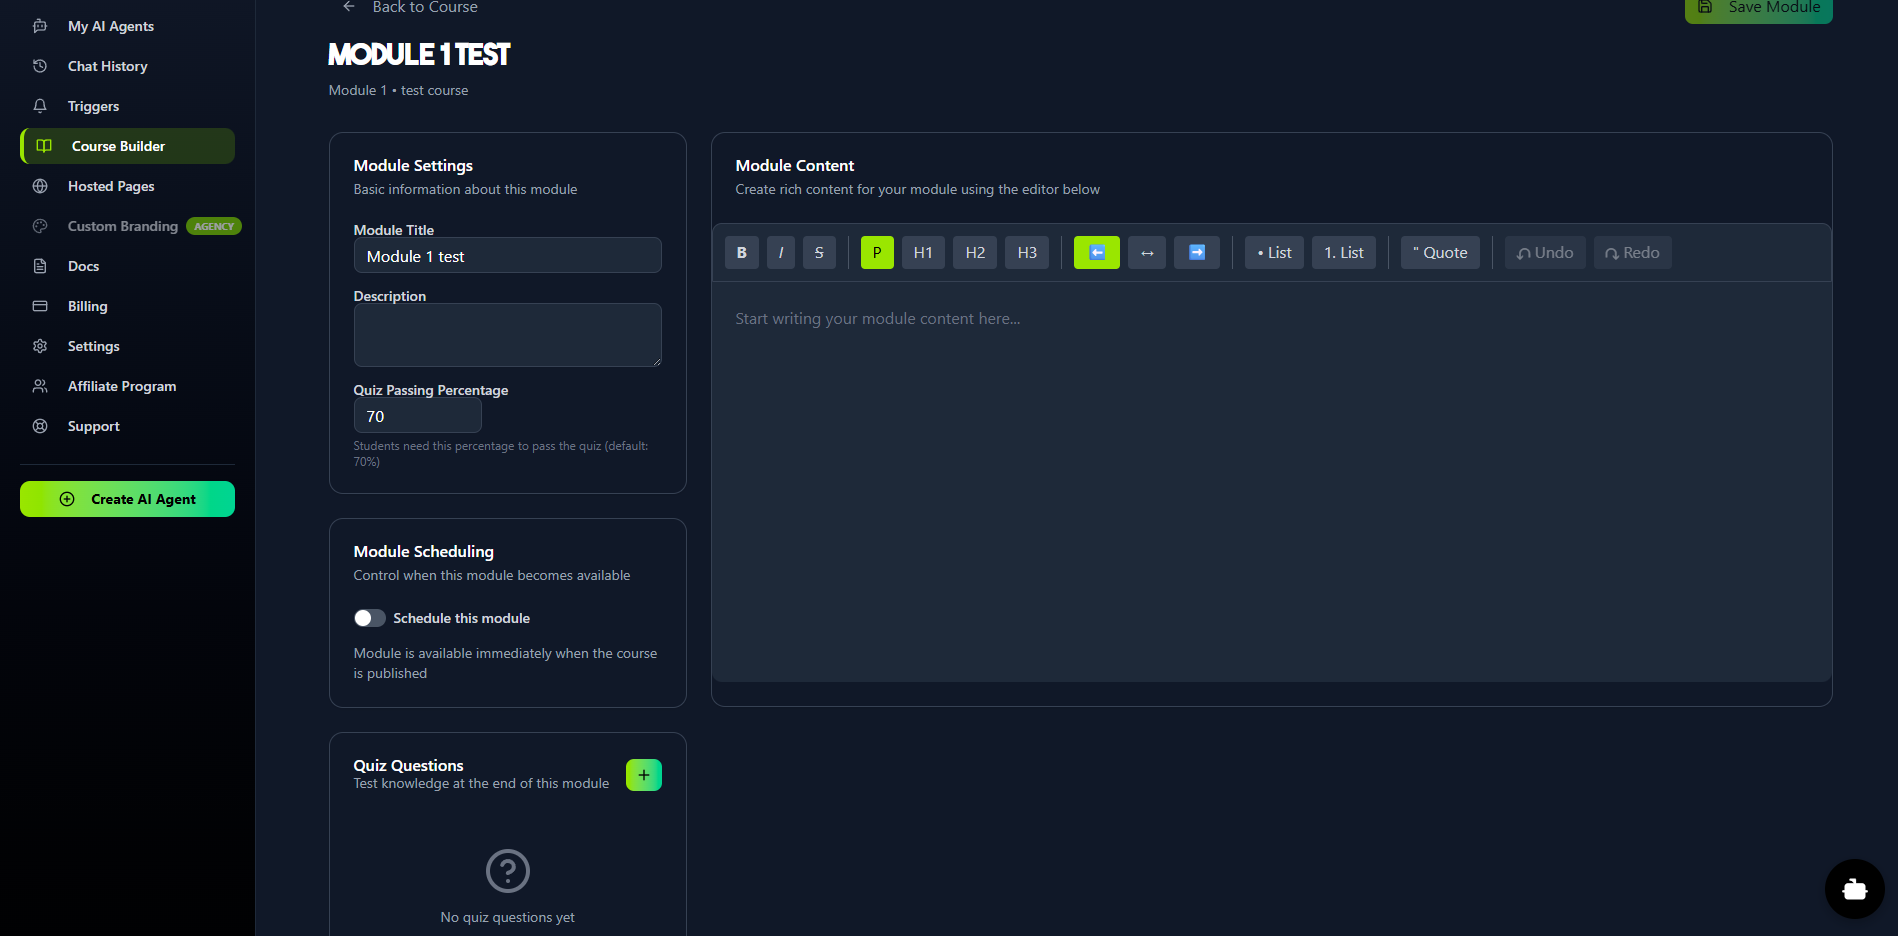
Upload Media Files: Upload video (MP4, WebM, OGG) or audio (MP3, WAV) files. This is perfect for different teaching styles and is also used to train the AI agent.
4. Set Module Rules
On the "Edit Module" page, you can also set rules:
Quiz Passing Percentage: Set the minimum score (e.g., 70%) that a student must achieve to pass the module.
Module Scheduling: By default, a module is available as soon as the course is published. You can optionally check Schedule this module to "drip-feed" your content, making it available to students only on a specific date you set.
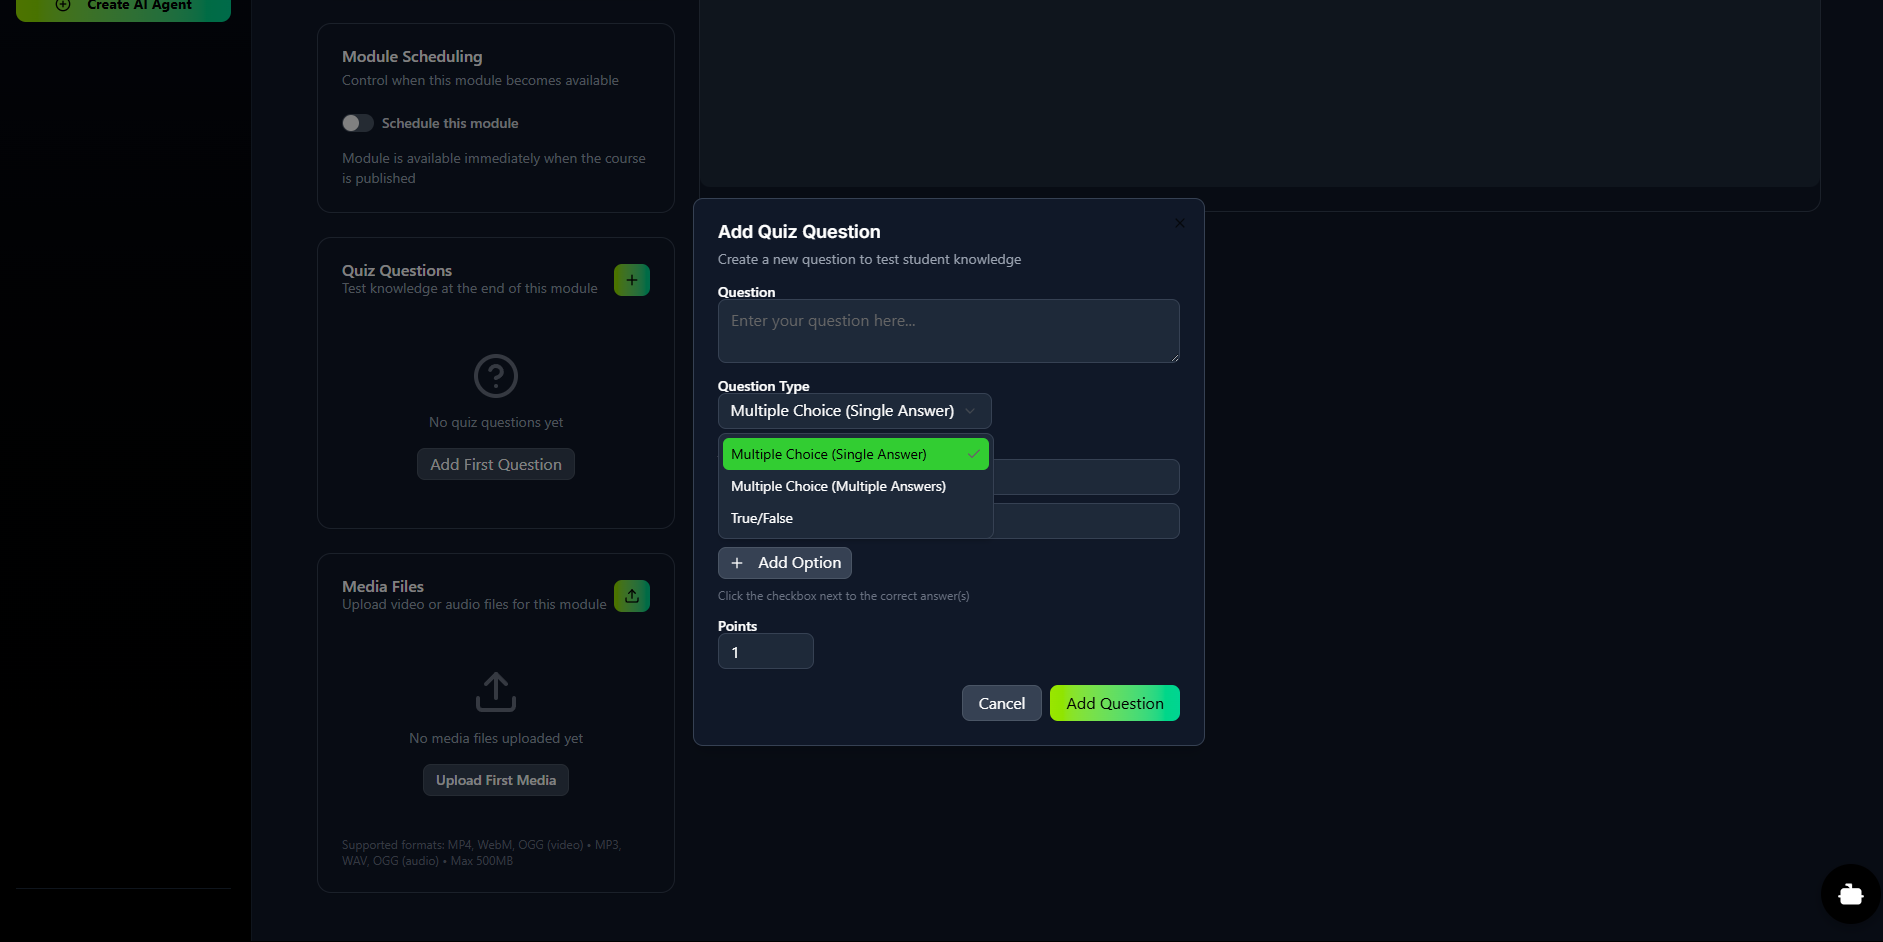
5. Create Quizzes
In the Quiz Questions section of the "Edit Module" page, click Add First Question (or the + icon) to build your quiz.
Enter your Question.
Select the Question Type (e.g., Multiple Choice (Single Answer), Multiple Choice (Multiple Answers), or True/False).
Add your Answer Options.
Check the box next to the correct answer(s).
Assign Points for that question.
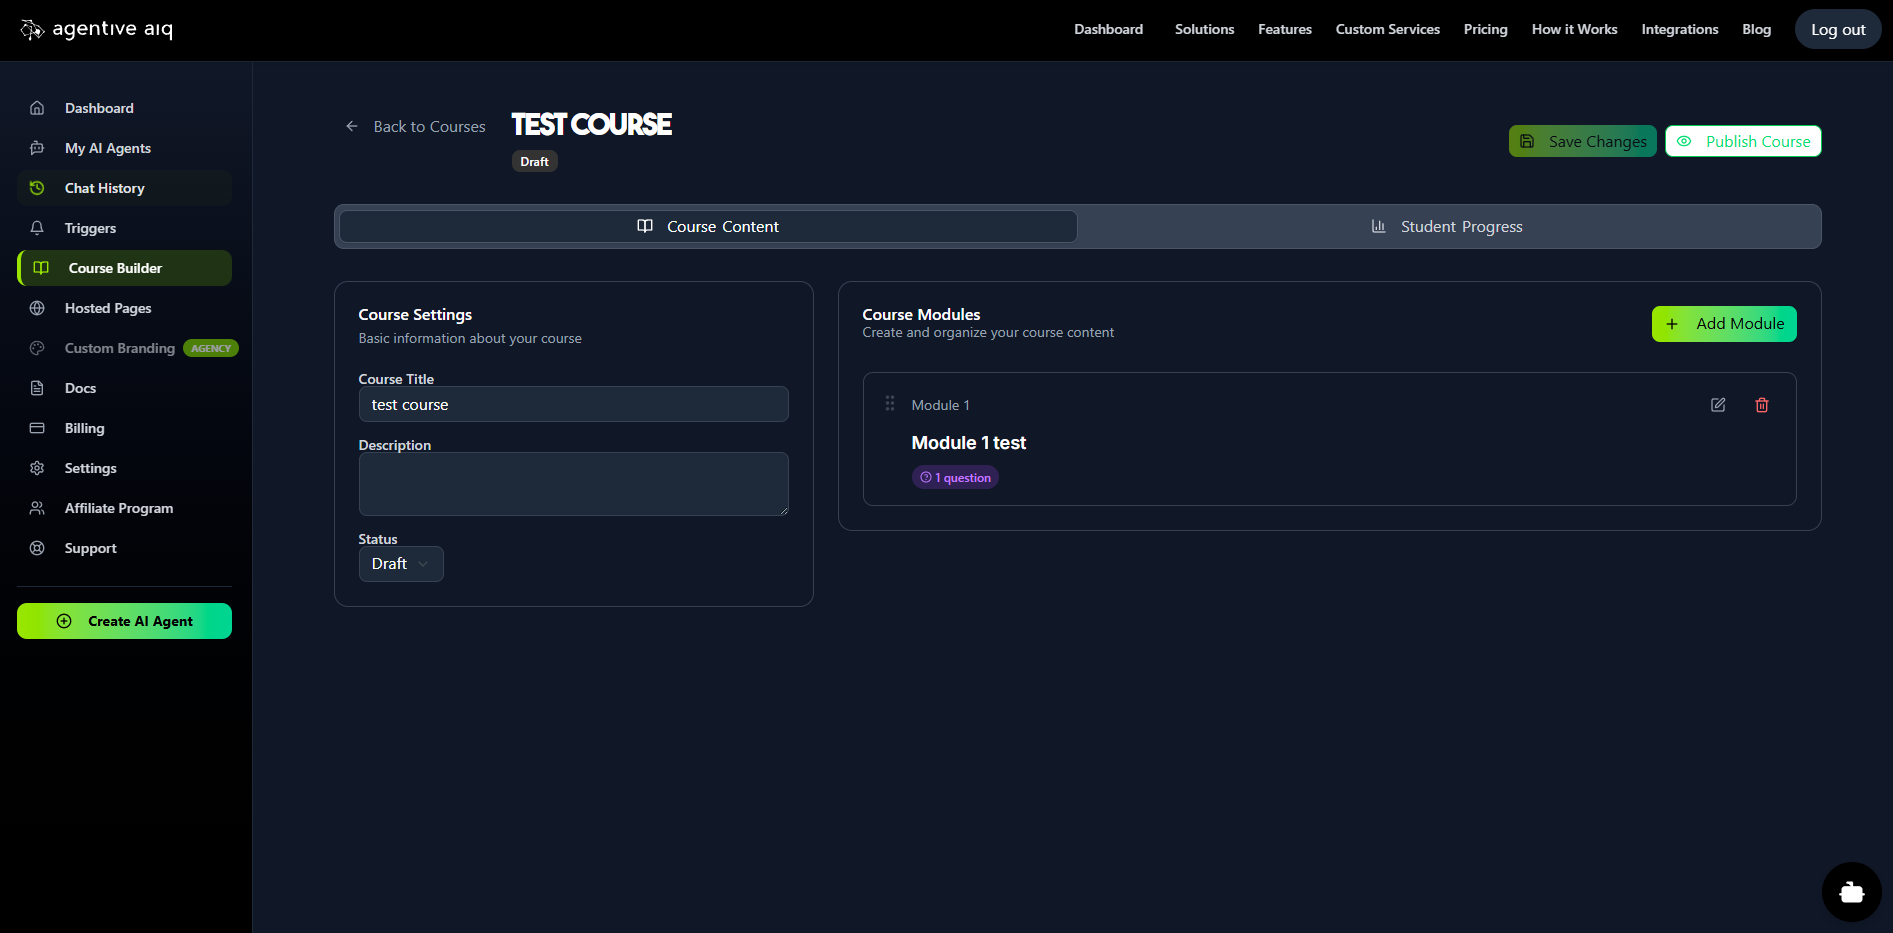
6. Publish Your Course
Once you have added all your modules, return to the main course page (it will show "Course Content" and "Student Progress" tabs). You must click the Publish Course button in the top-right corner to make it available for use.
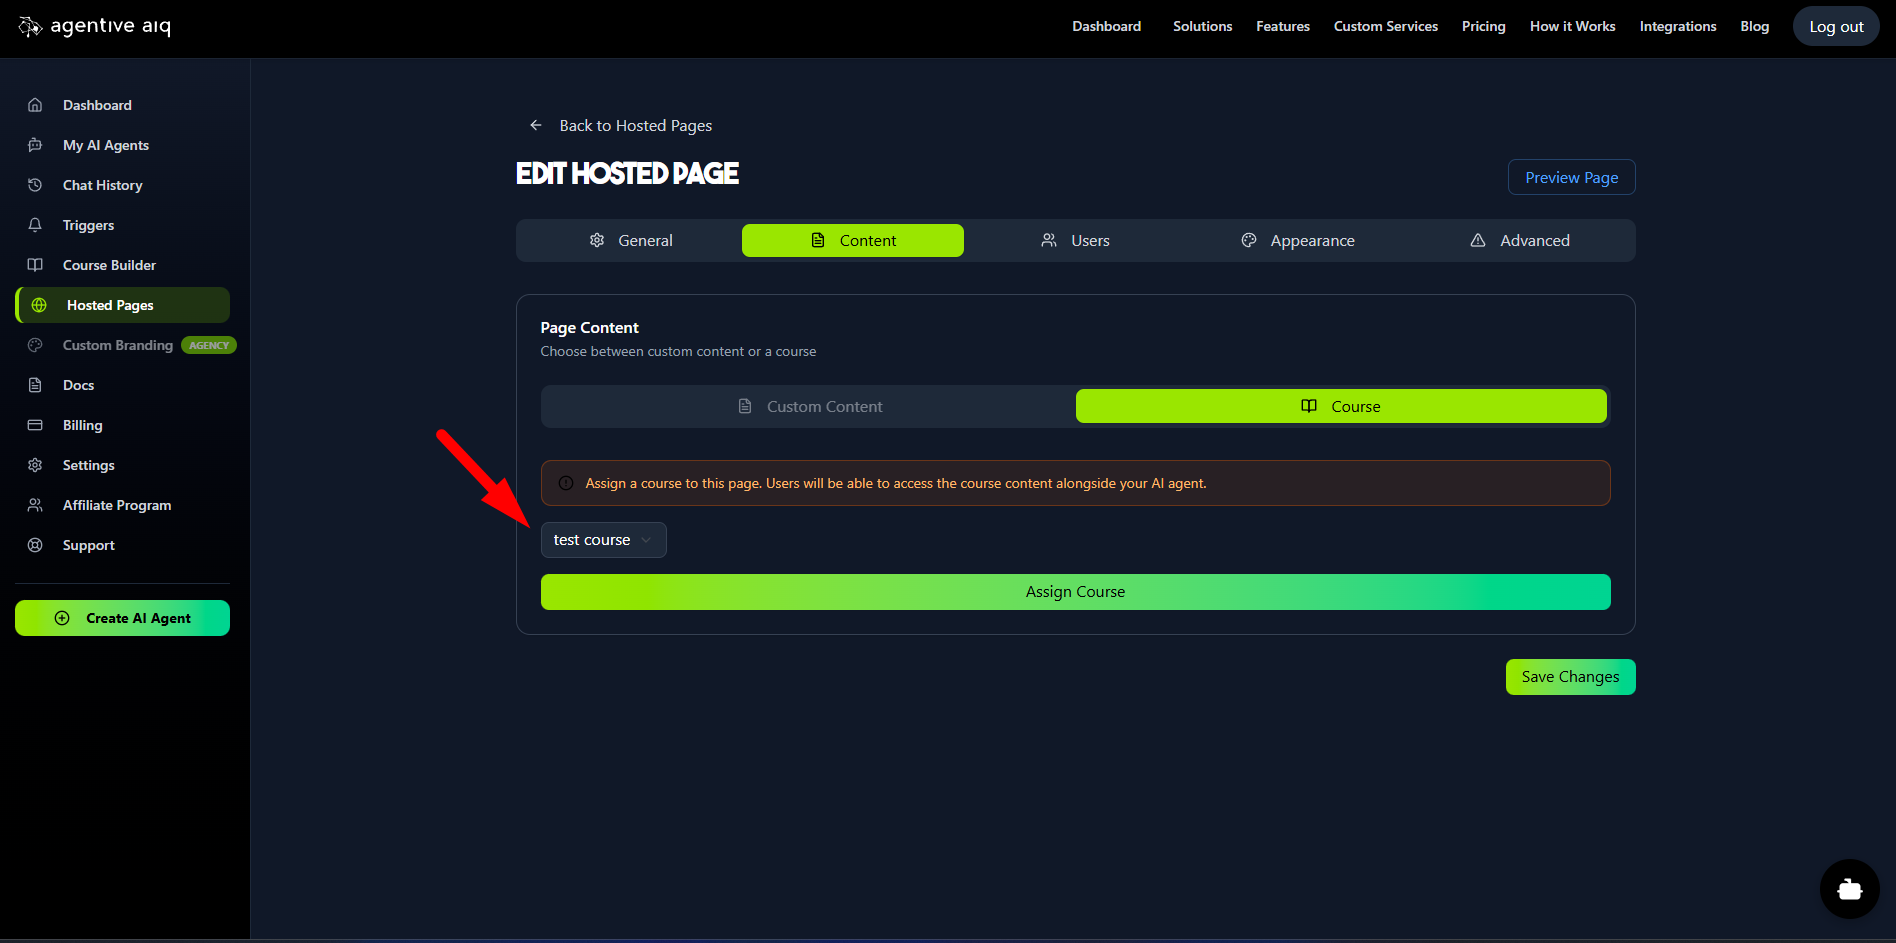
7. Assign Your Course to a Hosted Page
This is the most important step for deploying your course.
Navigate to Hosted Pages and either create a new page or edit an existing one.
Go to the Content tab.
Select the Course option and choose your newly published course from the dropdown menu.
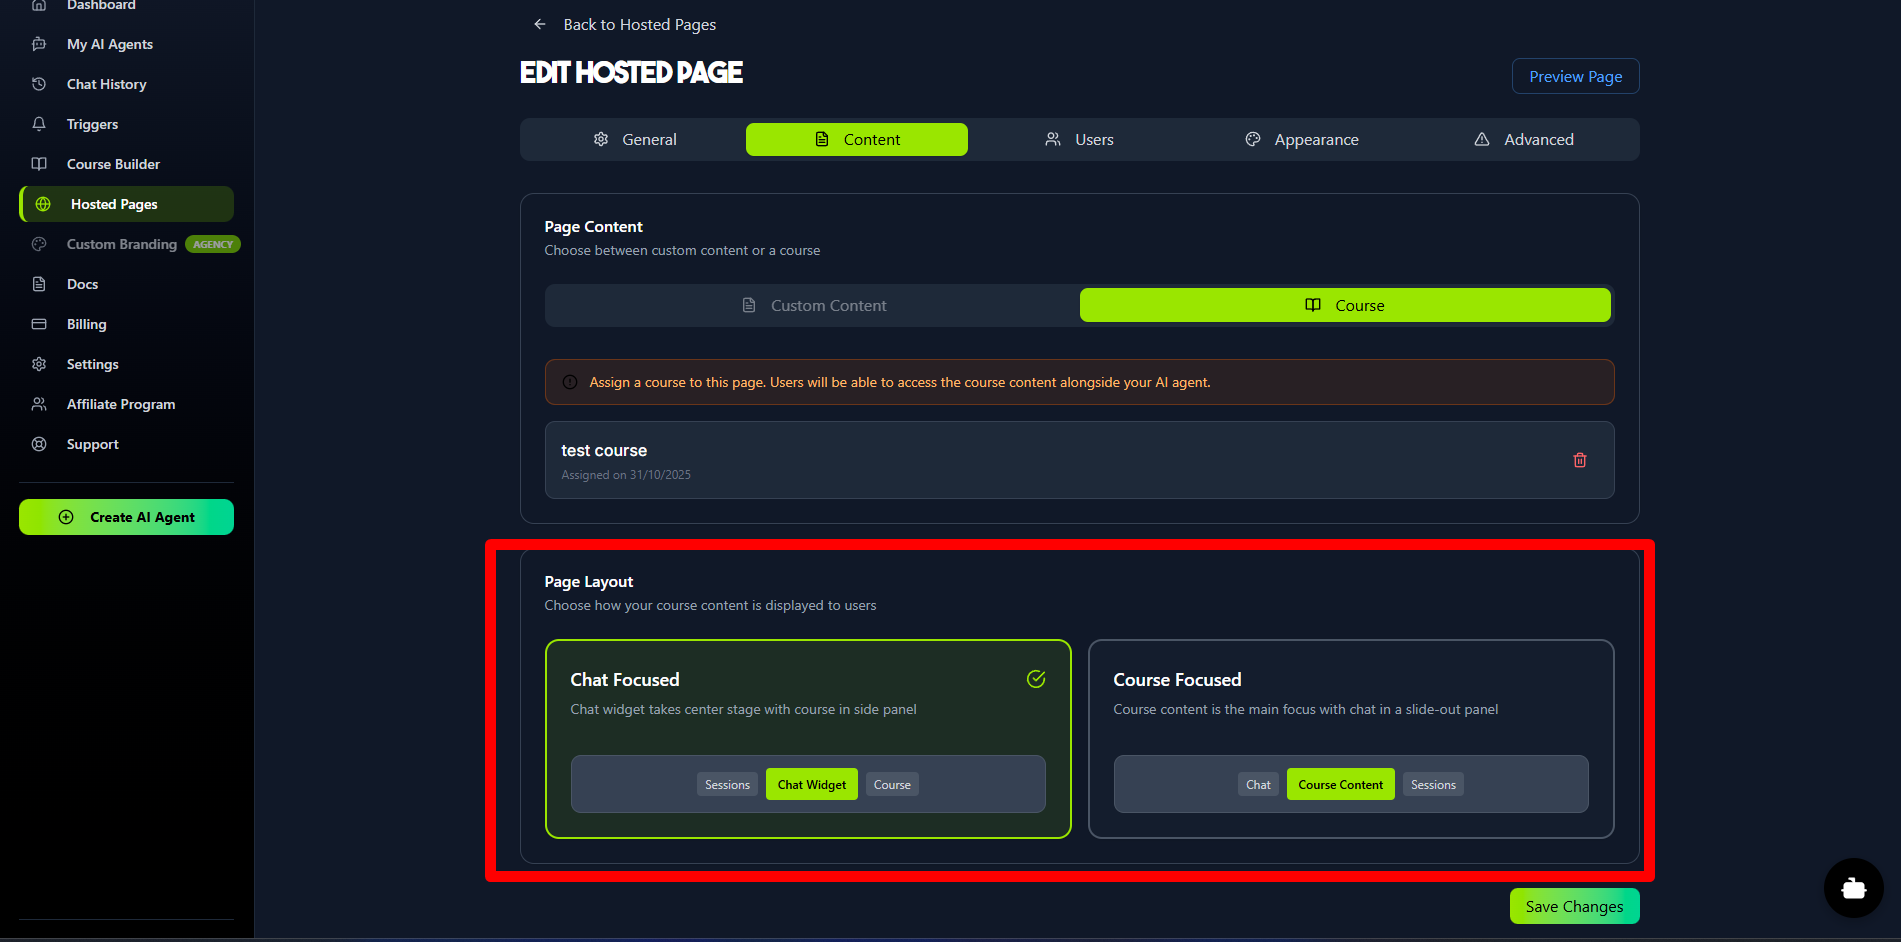
When you invite users to this Hosted Page, they will have full access to the course and their personal AI tutor.
In the Hosted Page settings, you can also change the layout to make the course content the main focus in the center, or have the AI chat be the focus.
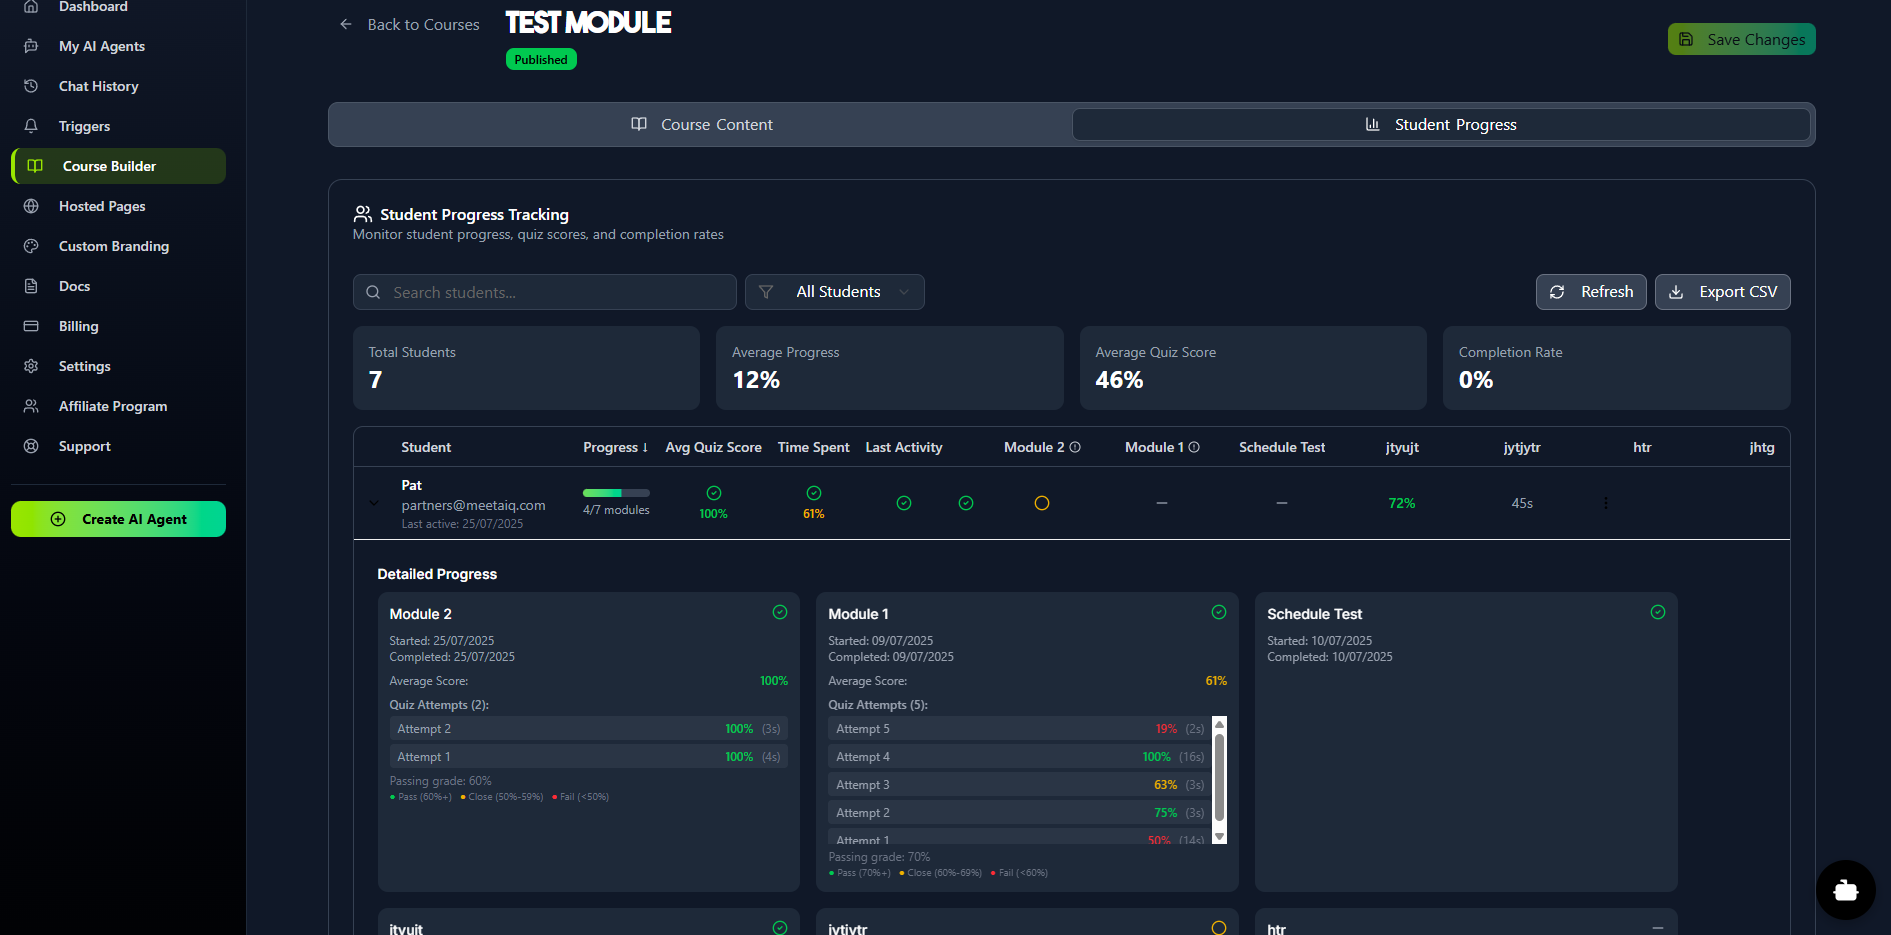
8. Monitor Student Progress
Back in the Course Builder, click on your course and select the Student Progress tab. This will open detailed reports where you can monitor each student's progress, quiz scores, and engagement.
The AI agent on the Hosted Page will have long-term memory for each individual student, allowing it to provide a truly personalized and effective learning experience.
Was this article helpful?
Related Articles
How to Use Triggers to Engage Visitors
Triggers are proactive messages designed to engage your website visitors. They appear above your floating launcher icon on specific pages and after a set time delay. You can stack multiple triggers on a single page, and when a visitor clicks one, it will open the chat widget. Note: Triggers are available for Floating Widgets only.
How to Create and Manage Hosted Pages
Hosted Pages are secure, brandable, standalone web pages that you can share with your users. They are perfect for internal company knowledge bases, secure client portals, or as an AI-powered educational tutor system. These pages are "gated," meaning users must be invited and log in to access them. This secure environment enables long-term memory for each user, allowing the AI agent to remember and reference all previous conversations. Prerequisite: Before you can create a Hosted Page, you must first build an AI agent and select Embedded Window as its Deployment Type.
Getting Started
Welcome to AgentiveAIQ! This guide will walk you through the entire no-code journey of building and launching your first specialized AI agent. We'll start at your main dashboard, move through selecting a powerful pre-trained goal for your agent, and dive into complete visual customization with our live WYSIWYG editor. You'll also learn how to build your agent's "brain" by adding your website or documents, and finally, how to publish your new agent to your site with a single line of code.
How to Integrate with WooCommerce
Give your agent real-time access to your WooCommerce store data. Once connected, your AI assistant can check order status, browse products, check shipping options, and more. Prerequisite: You must have the WooCommerce plugin installed and active on your WordPress site.
How to Integrate with Shopify
Connecting your AI agent directly to your Shopify store unlocks powerful capabilities, allowing it to act as a smart shopping assistant with real-time access to your products, orders, and store information.
READY TO BUILD YOUR AI AGENT?
Start implementing what you've learned with our powerful AI agent platform.